This article follows after last week’s release of Workshop 1. This article is on Workshop 2, on how you can envision your collective growing future through a mapping workshop. Remember to first conduct Workshop 1 before starting on Workshop 2, because you will need to be able to locate and gather interest within the community first! This article is written by Lisa Shields, a design student at Linneuniversitet in a program called Design+Change. This is Part 2 of a guide that will lead you through 3 workshops designed to give you the tools to form food communities in the area you live, to bring together people to start growing projects, as well as building deeper care relationships to the food grown as a community.
Workshop 2: Envision your collective growing future through a mapping workshop
The second workshop is designed for those interested in discussing the topic of growing food in communities and in brainstorming new growing projects. It is also for those who want to get to know the new growing community and get a better understanding of the community’s thoughts and ideas about growing food.
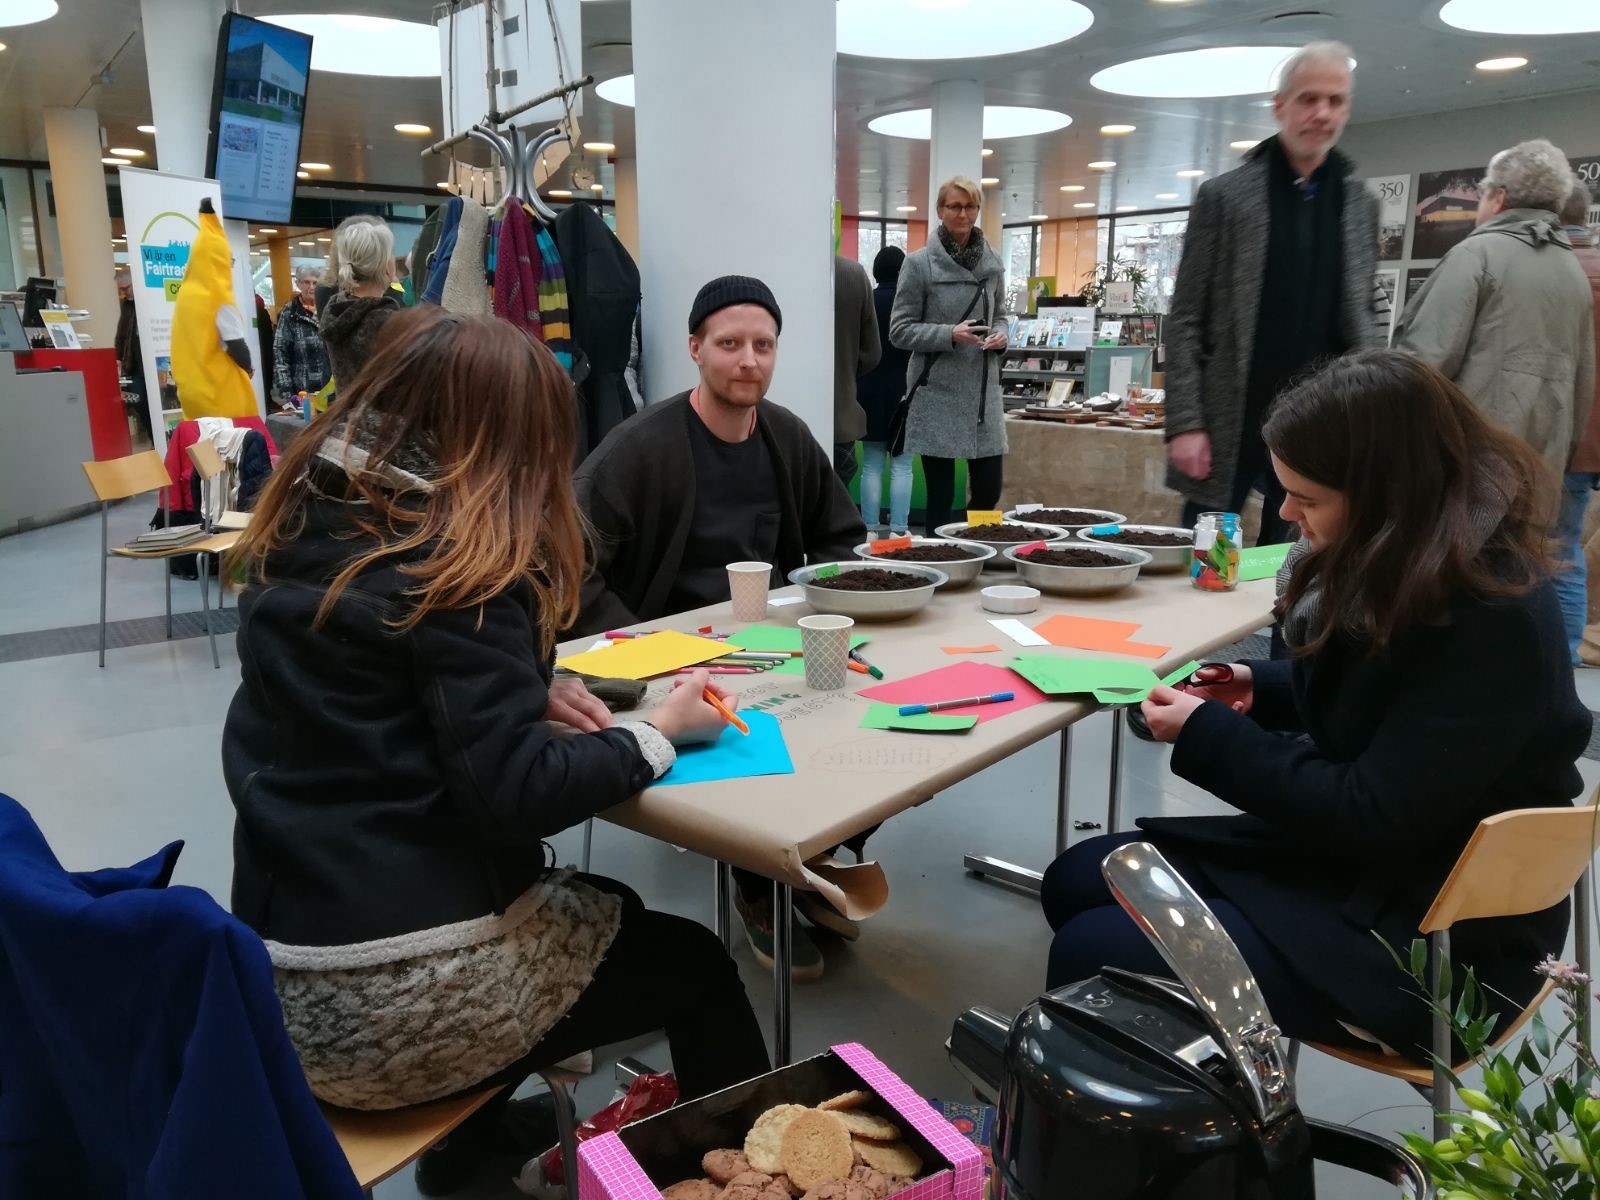
You can invite people by giving out invitations through community online pages, or put up invitations in your area. Again you can be creative, you can also invite people when walking around with the moving farm. Gather interested people in a room- the setting should be quite informal and comfortable, maybe have some fika!
Activities: Have a meet and greet time for people to mingle and get to know each other!
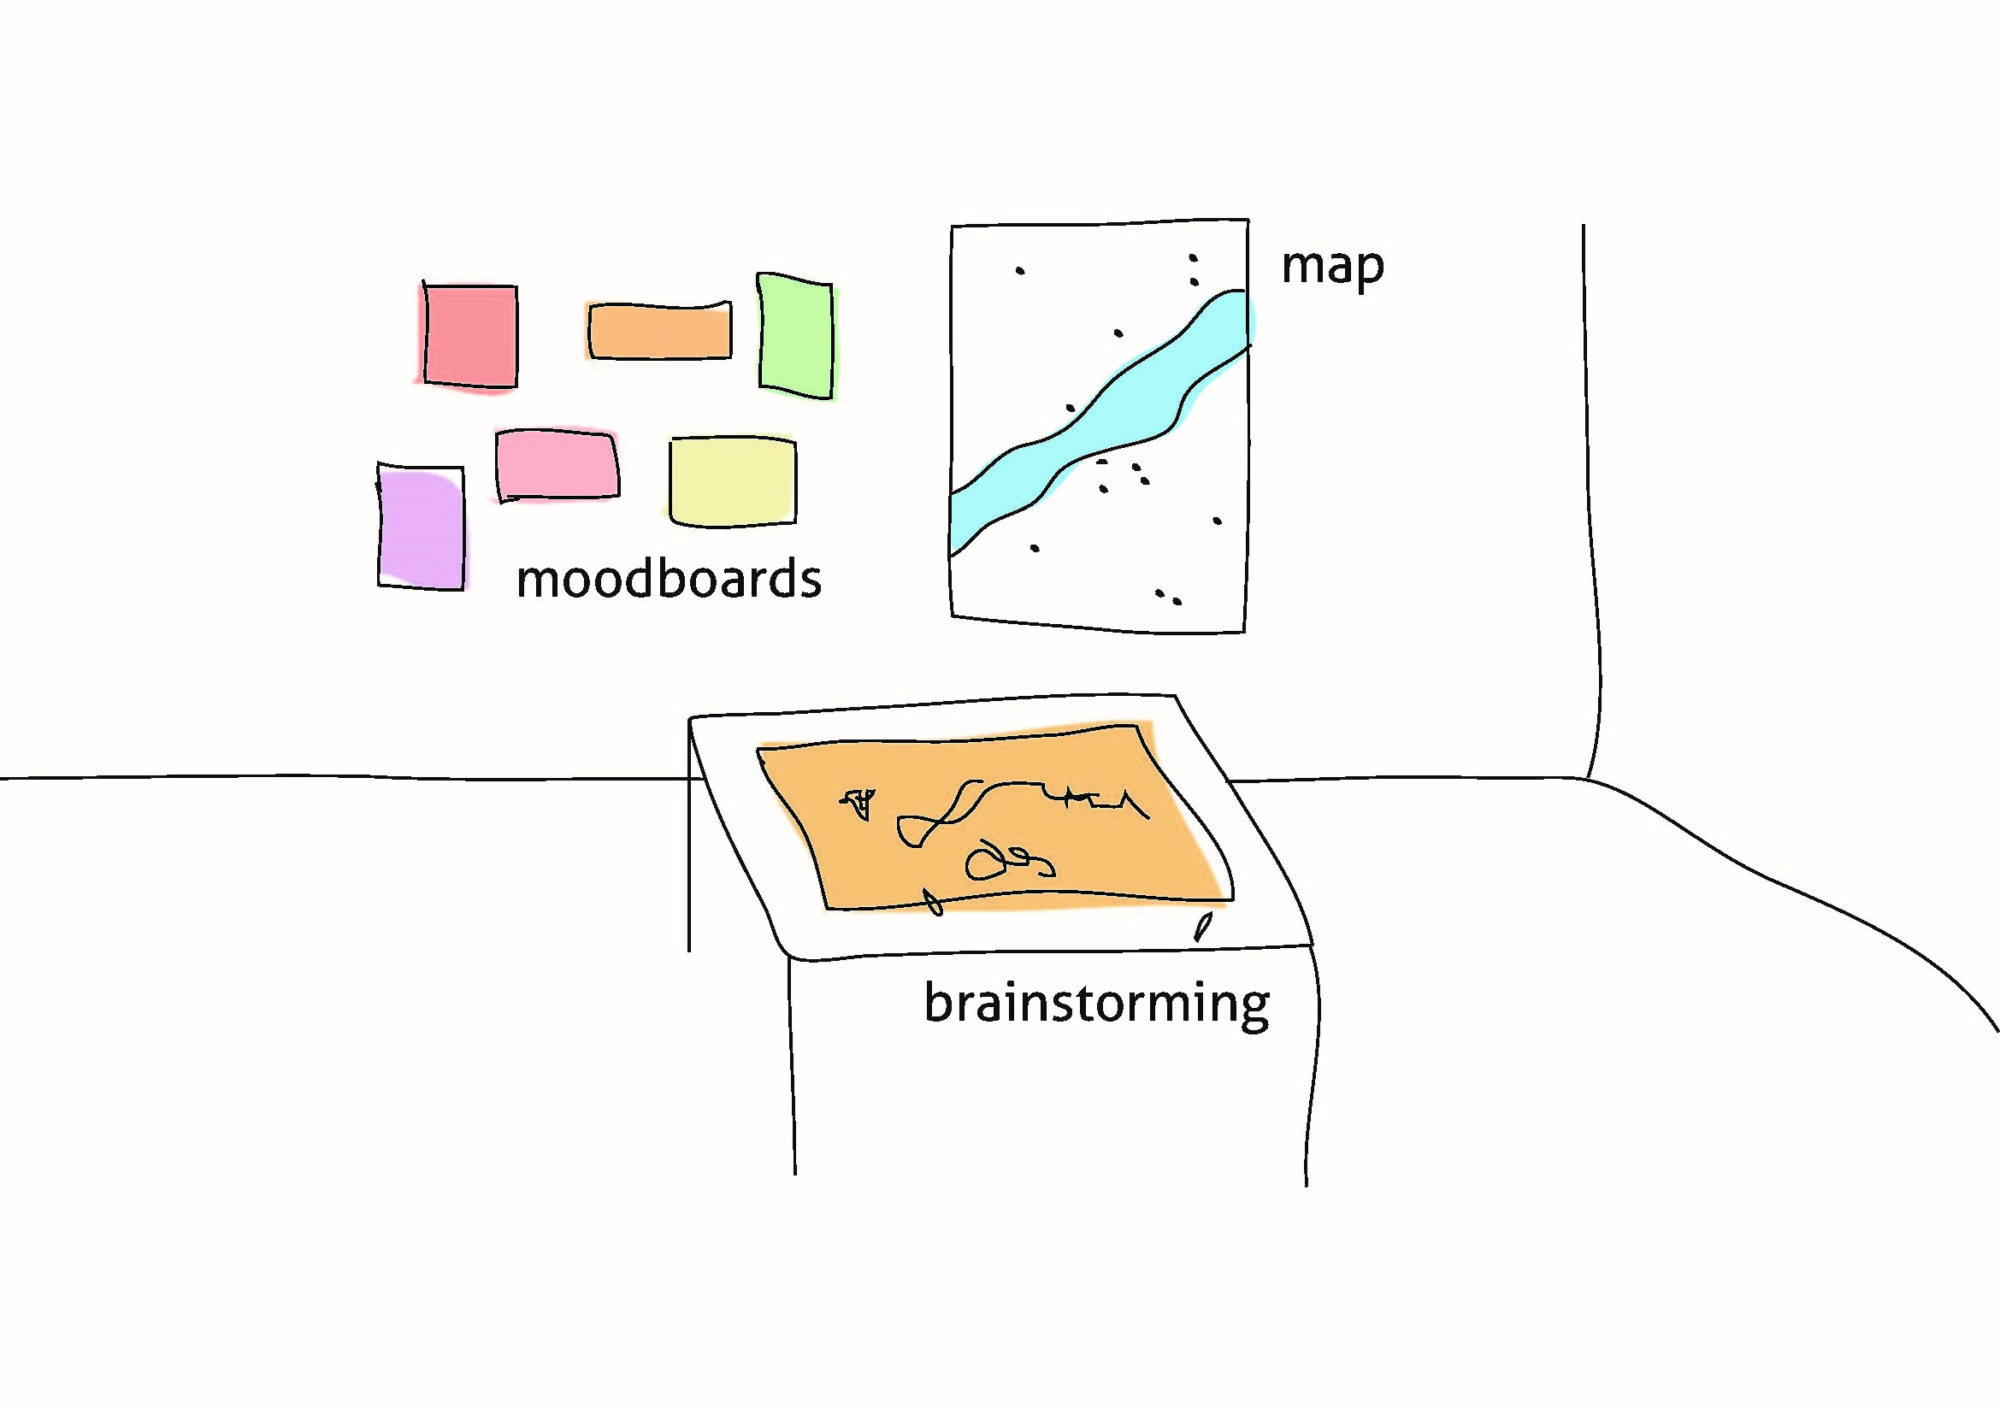
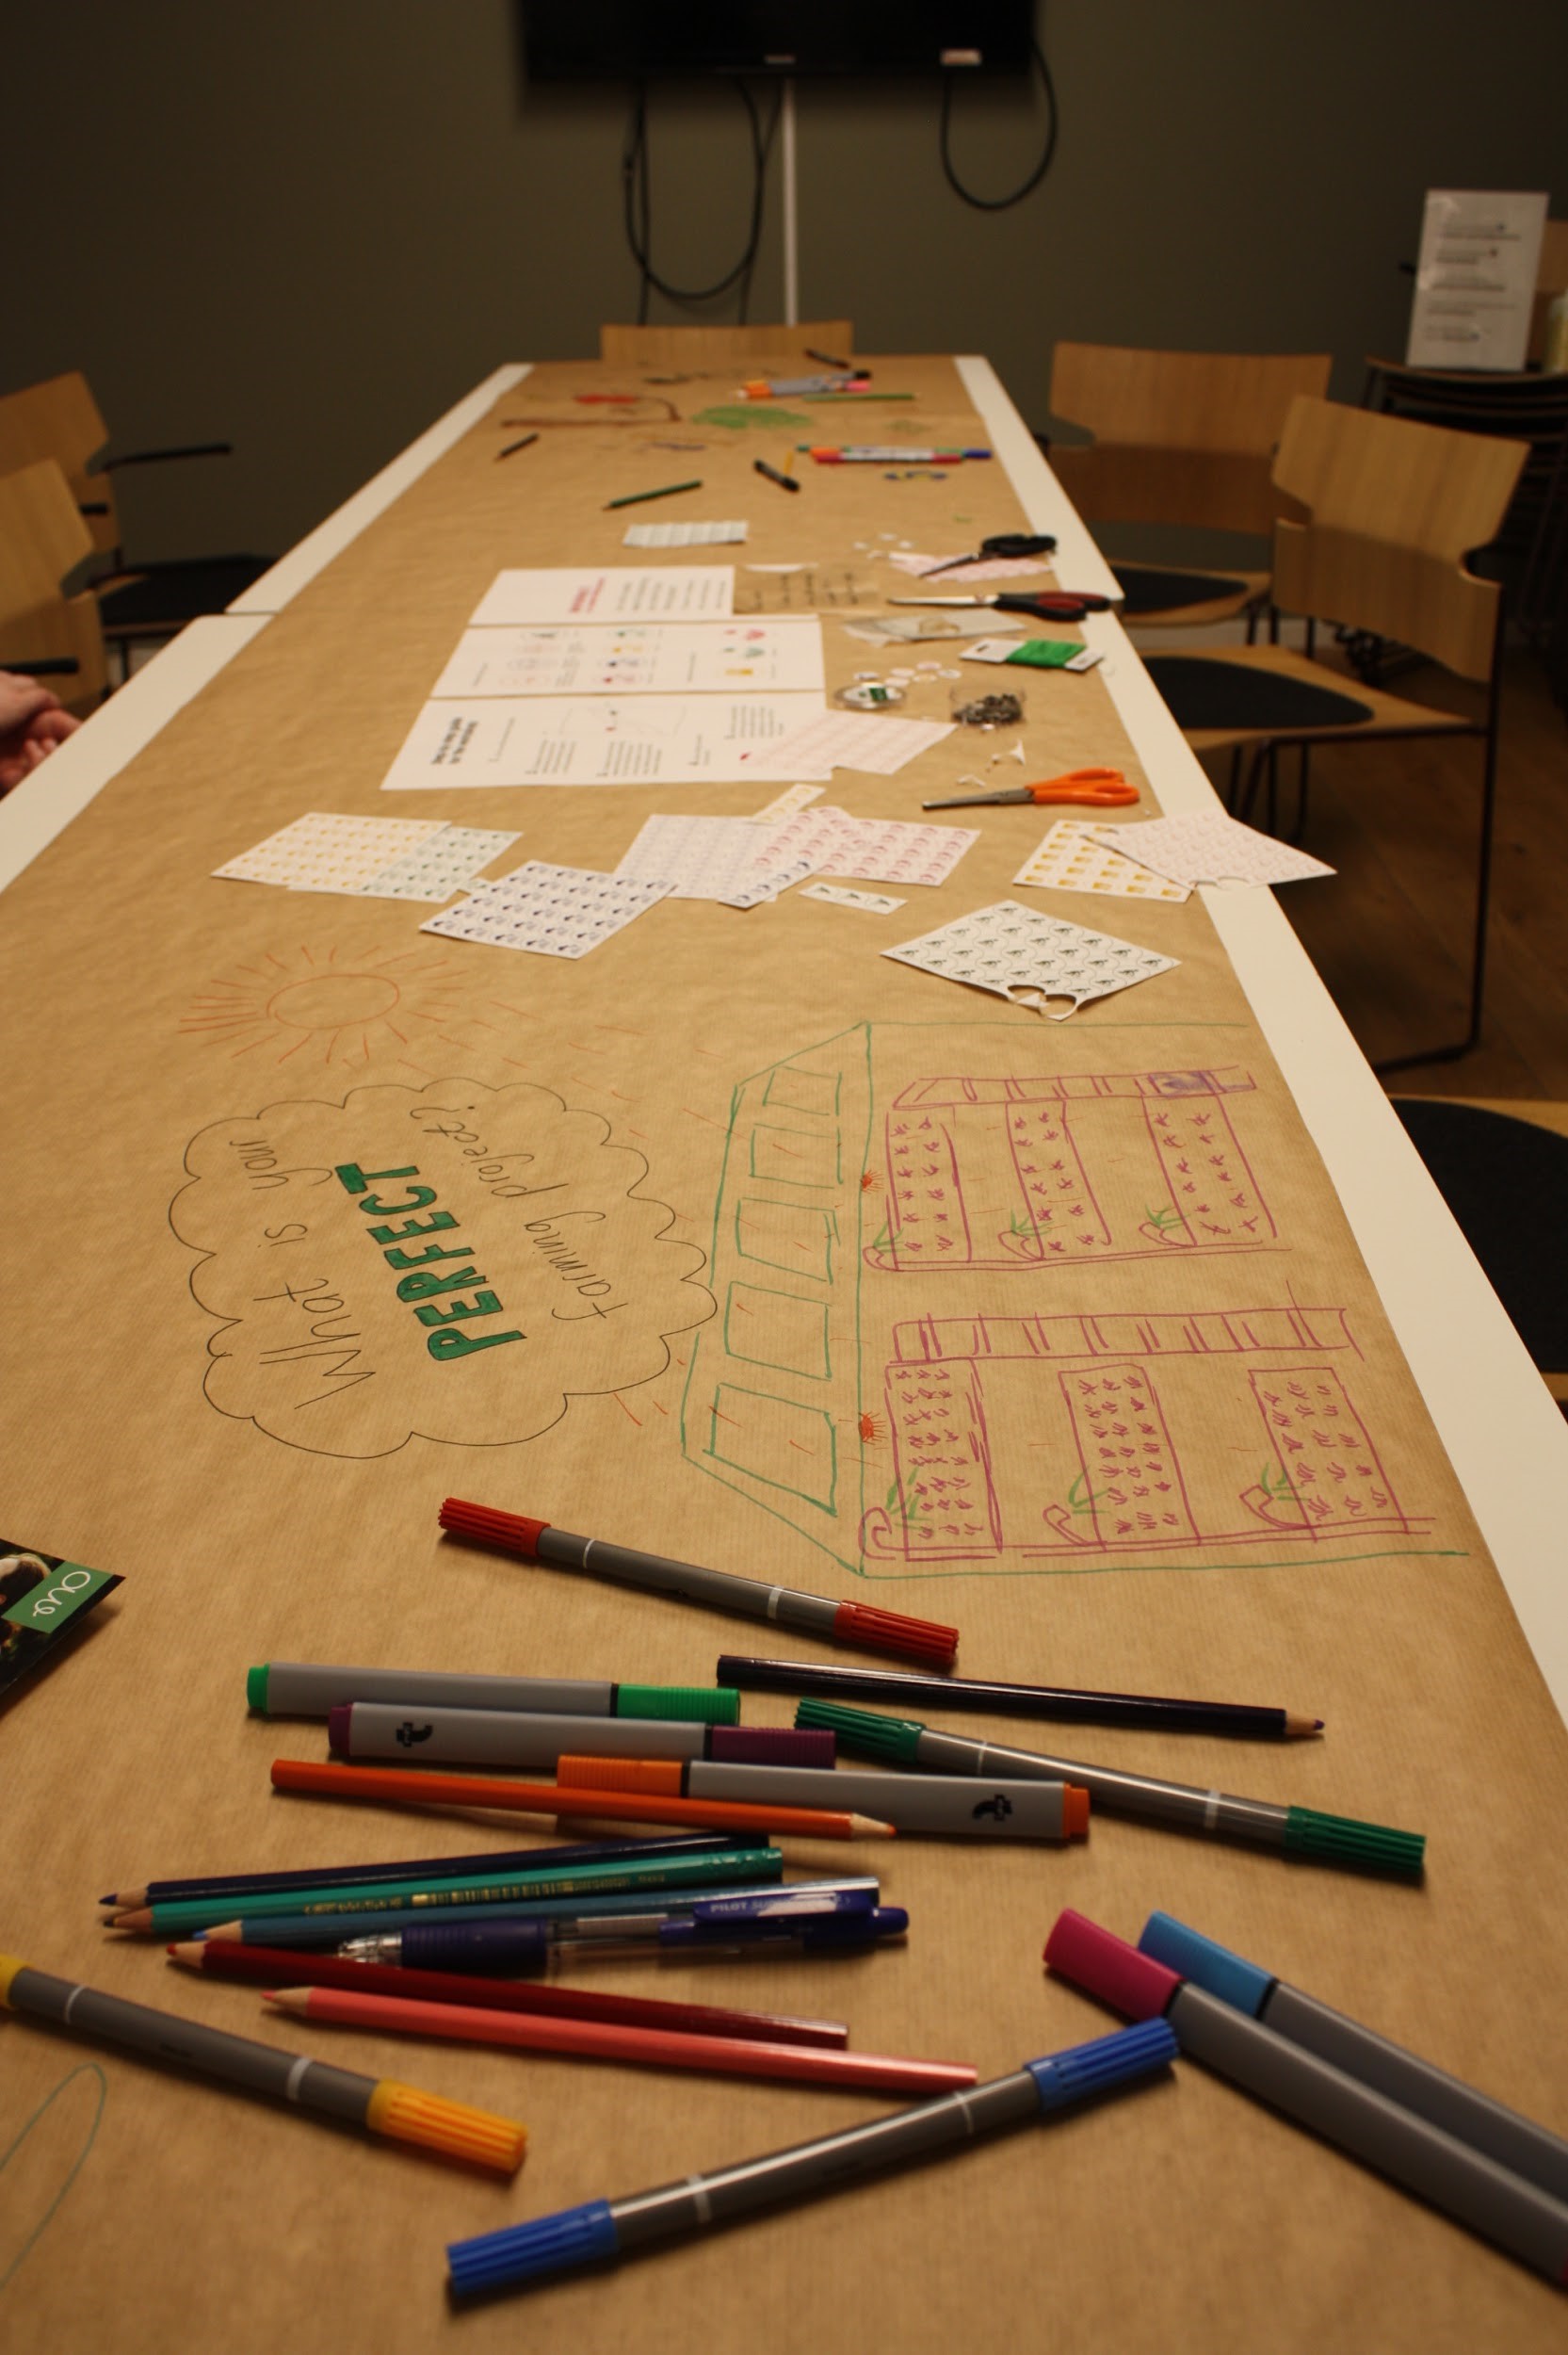
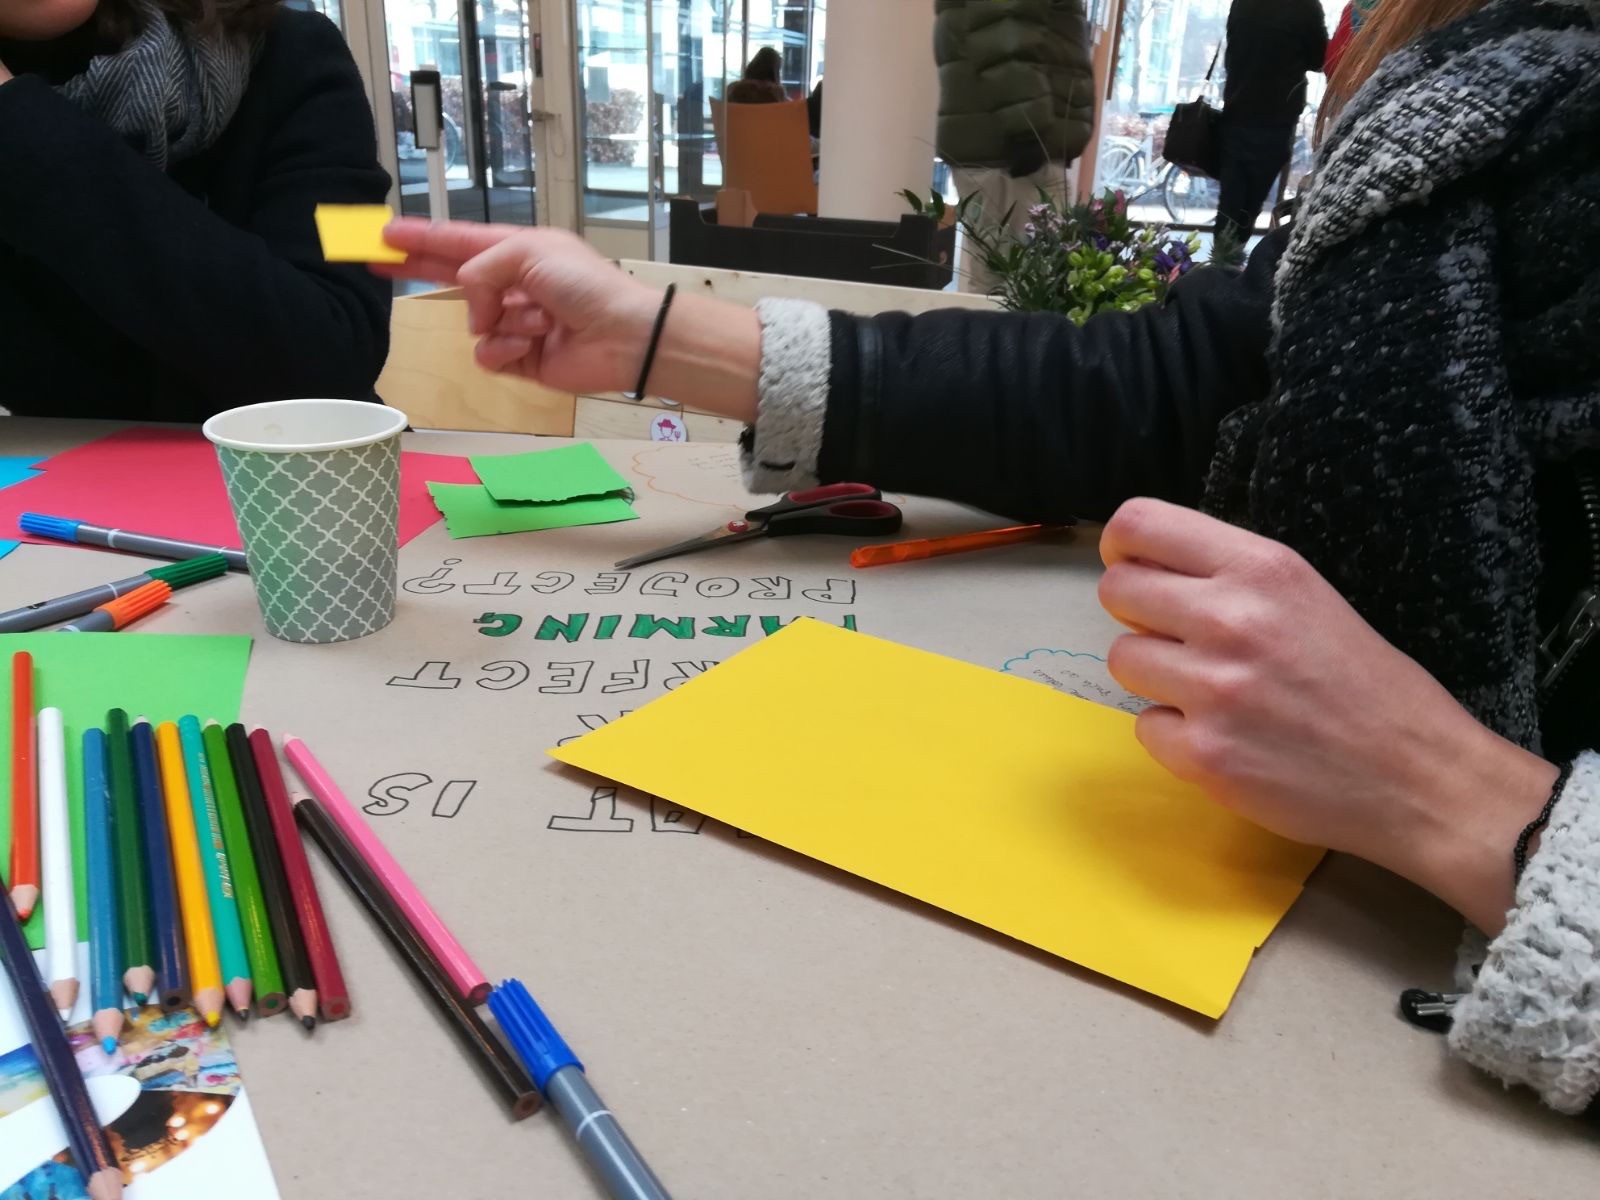
There should be a big table covered with paper to draw and write on, along with materials such as markers, crayons or pens. On the paper, different questions will be written to inspire conversation and ideas. The questions could be: “what does the future of food look like in our community?” or “what is your perfect growing project?”
There should be magazines and materials for people to create mood boards of their future farming projects. These can be put up on the wall for the community to reflect and discuss.
The aim is for people to meet and bond in the food community, and hopefully, new growing projects will begin.
Step-by-step guide:
1. When participants arrive, give them name tags, this will include their name and what they can offer to the community (time, knowledge, land, resources).
2. Encourage creativity at the brainstorming table and make mood boards or farming ideas and projects they want to start. (Participants can work in groups or alone)
3. Place mood boards up on the wall and have a group discussion about starting some of the projects together as a community.

4. Don’t forget to put your new growing projects on the Growgbg platform!
Learning outcomes: By doing this workshop I learned that:
- People like to talk more about their ideas than writing and drawing them, try your best to encourage people to put them down on paper so they group can work with each other’s ideas.
- Having a lot of different materials sparks more creativity, the more the better!
- Sometimes the participants are shy to share their ideas, let them know that they are free to do anything, and no answer is wrong!
We hope this workshop guide works well for you, and that you manage to hold a fruitful and interactive one!
With Love,
Lisa and the Growgbg team.