News
A Designer’s Guide to Starting a Local Food Community: Part 1
Ever wondered how you could start a farming movement in your neighbourhood? Do you know how to measure existing interest? If there is interest, then how would you go about acting on it? This article is written by Lisa Shields, a design student at Linneuniversitet in a program called Design+Change. This is a guide that will lead you through 3 workshops designed to give you the tools to form food communities in the area you live, to bring together people to start growing projects, as well as building deeper care relationships to the food grown as a community. This first article will describe the first workshop, “Discovering the interest of growing food in your local area”, and the other two articles on the other workshops will follow in the weeks to come.
Workshop 1: Discovering the interest of growing food in your local area
This first workshop is designed for those interested in knowing the more quantitative information in their local area. For those people who want to meet others interested in growing food and want to find out how many people are already growing, want to start growing, who has land and who are looking for land.
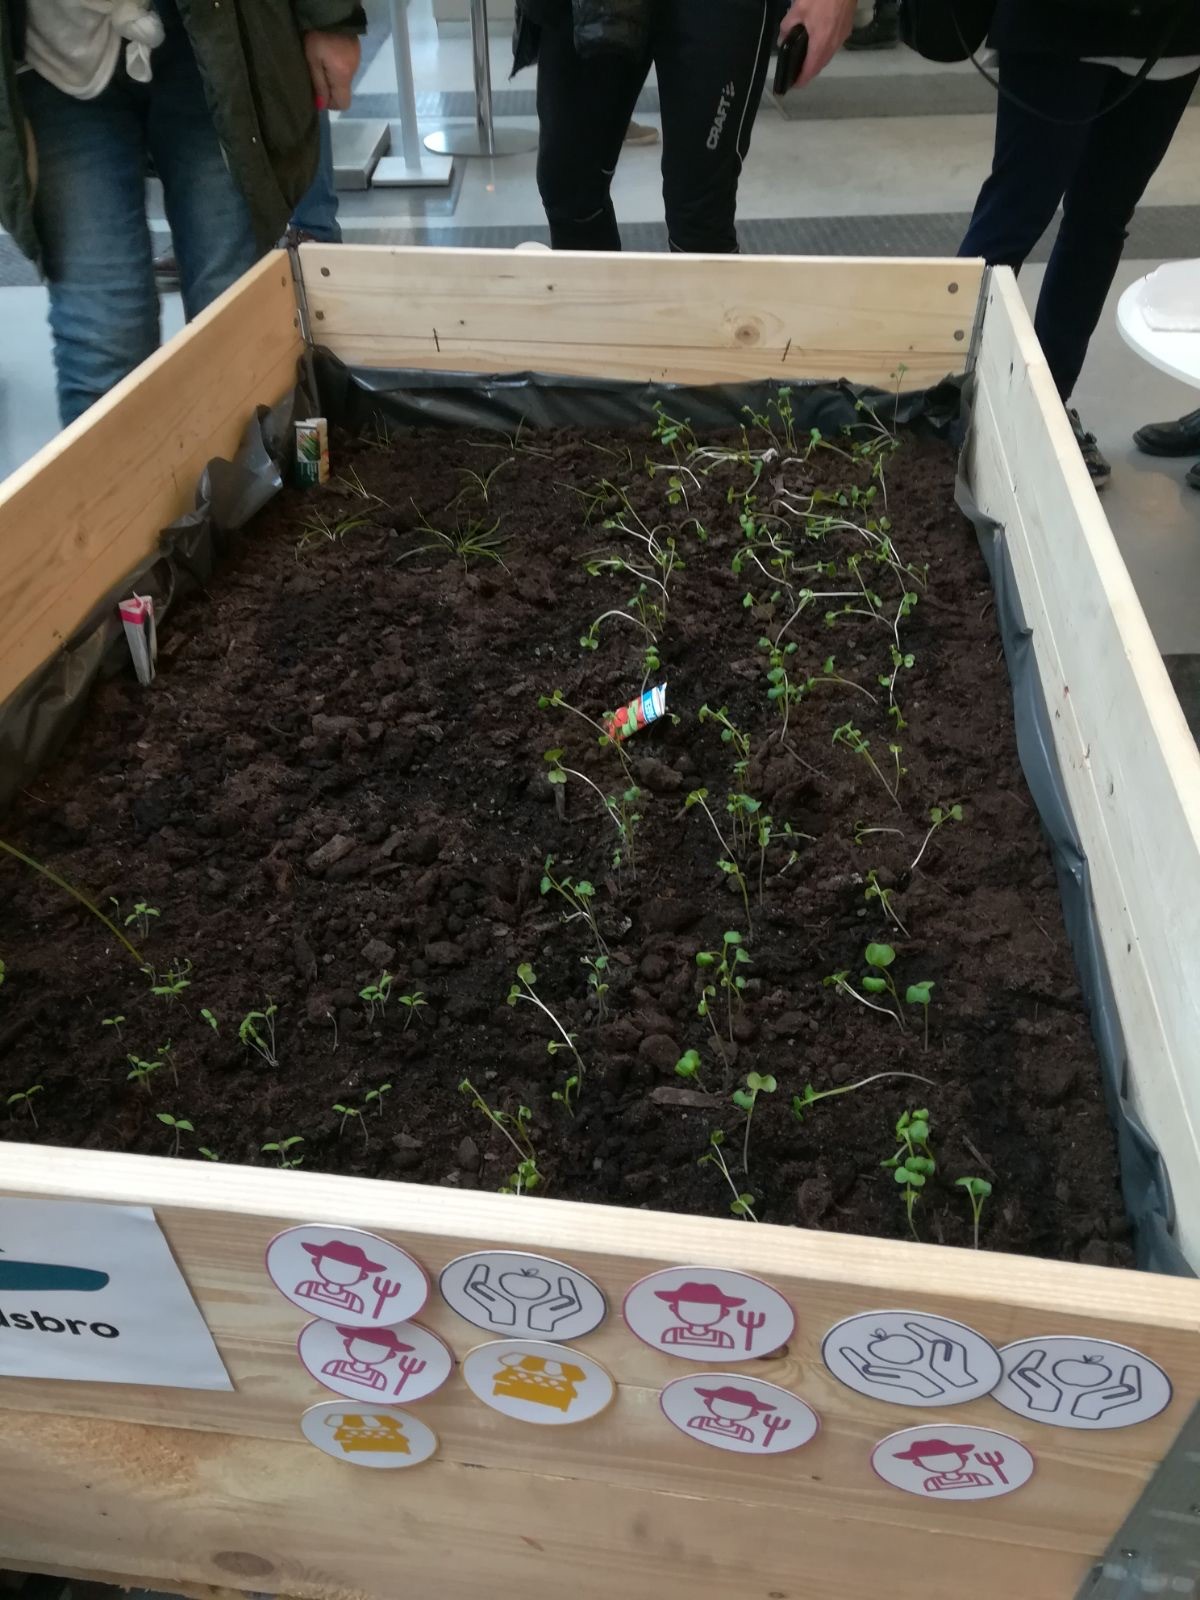
Activities: The hosts of the workshop will need to build a moving farm for themselves. This is because, during the workshop, the moving farm will be brought to different areas in their city to ask people questions on growing. What is a moving farm? It’s a simple wooden pallet with a wooden frame and wheels at the bottom (instructions on how to build it, are below). Why is a moving farm useful? Instead of asking people coming to us, building a moving farm allows us to not only go to people, but also capture interest and attention along the way.
Building a moving farm:
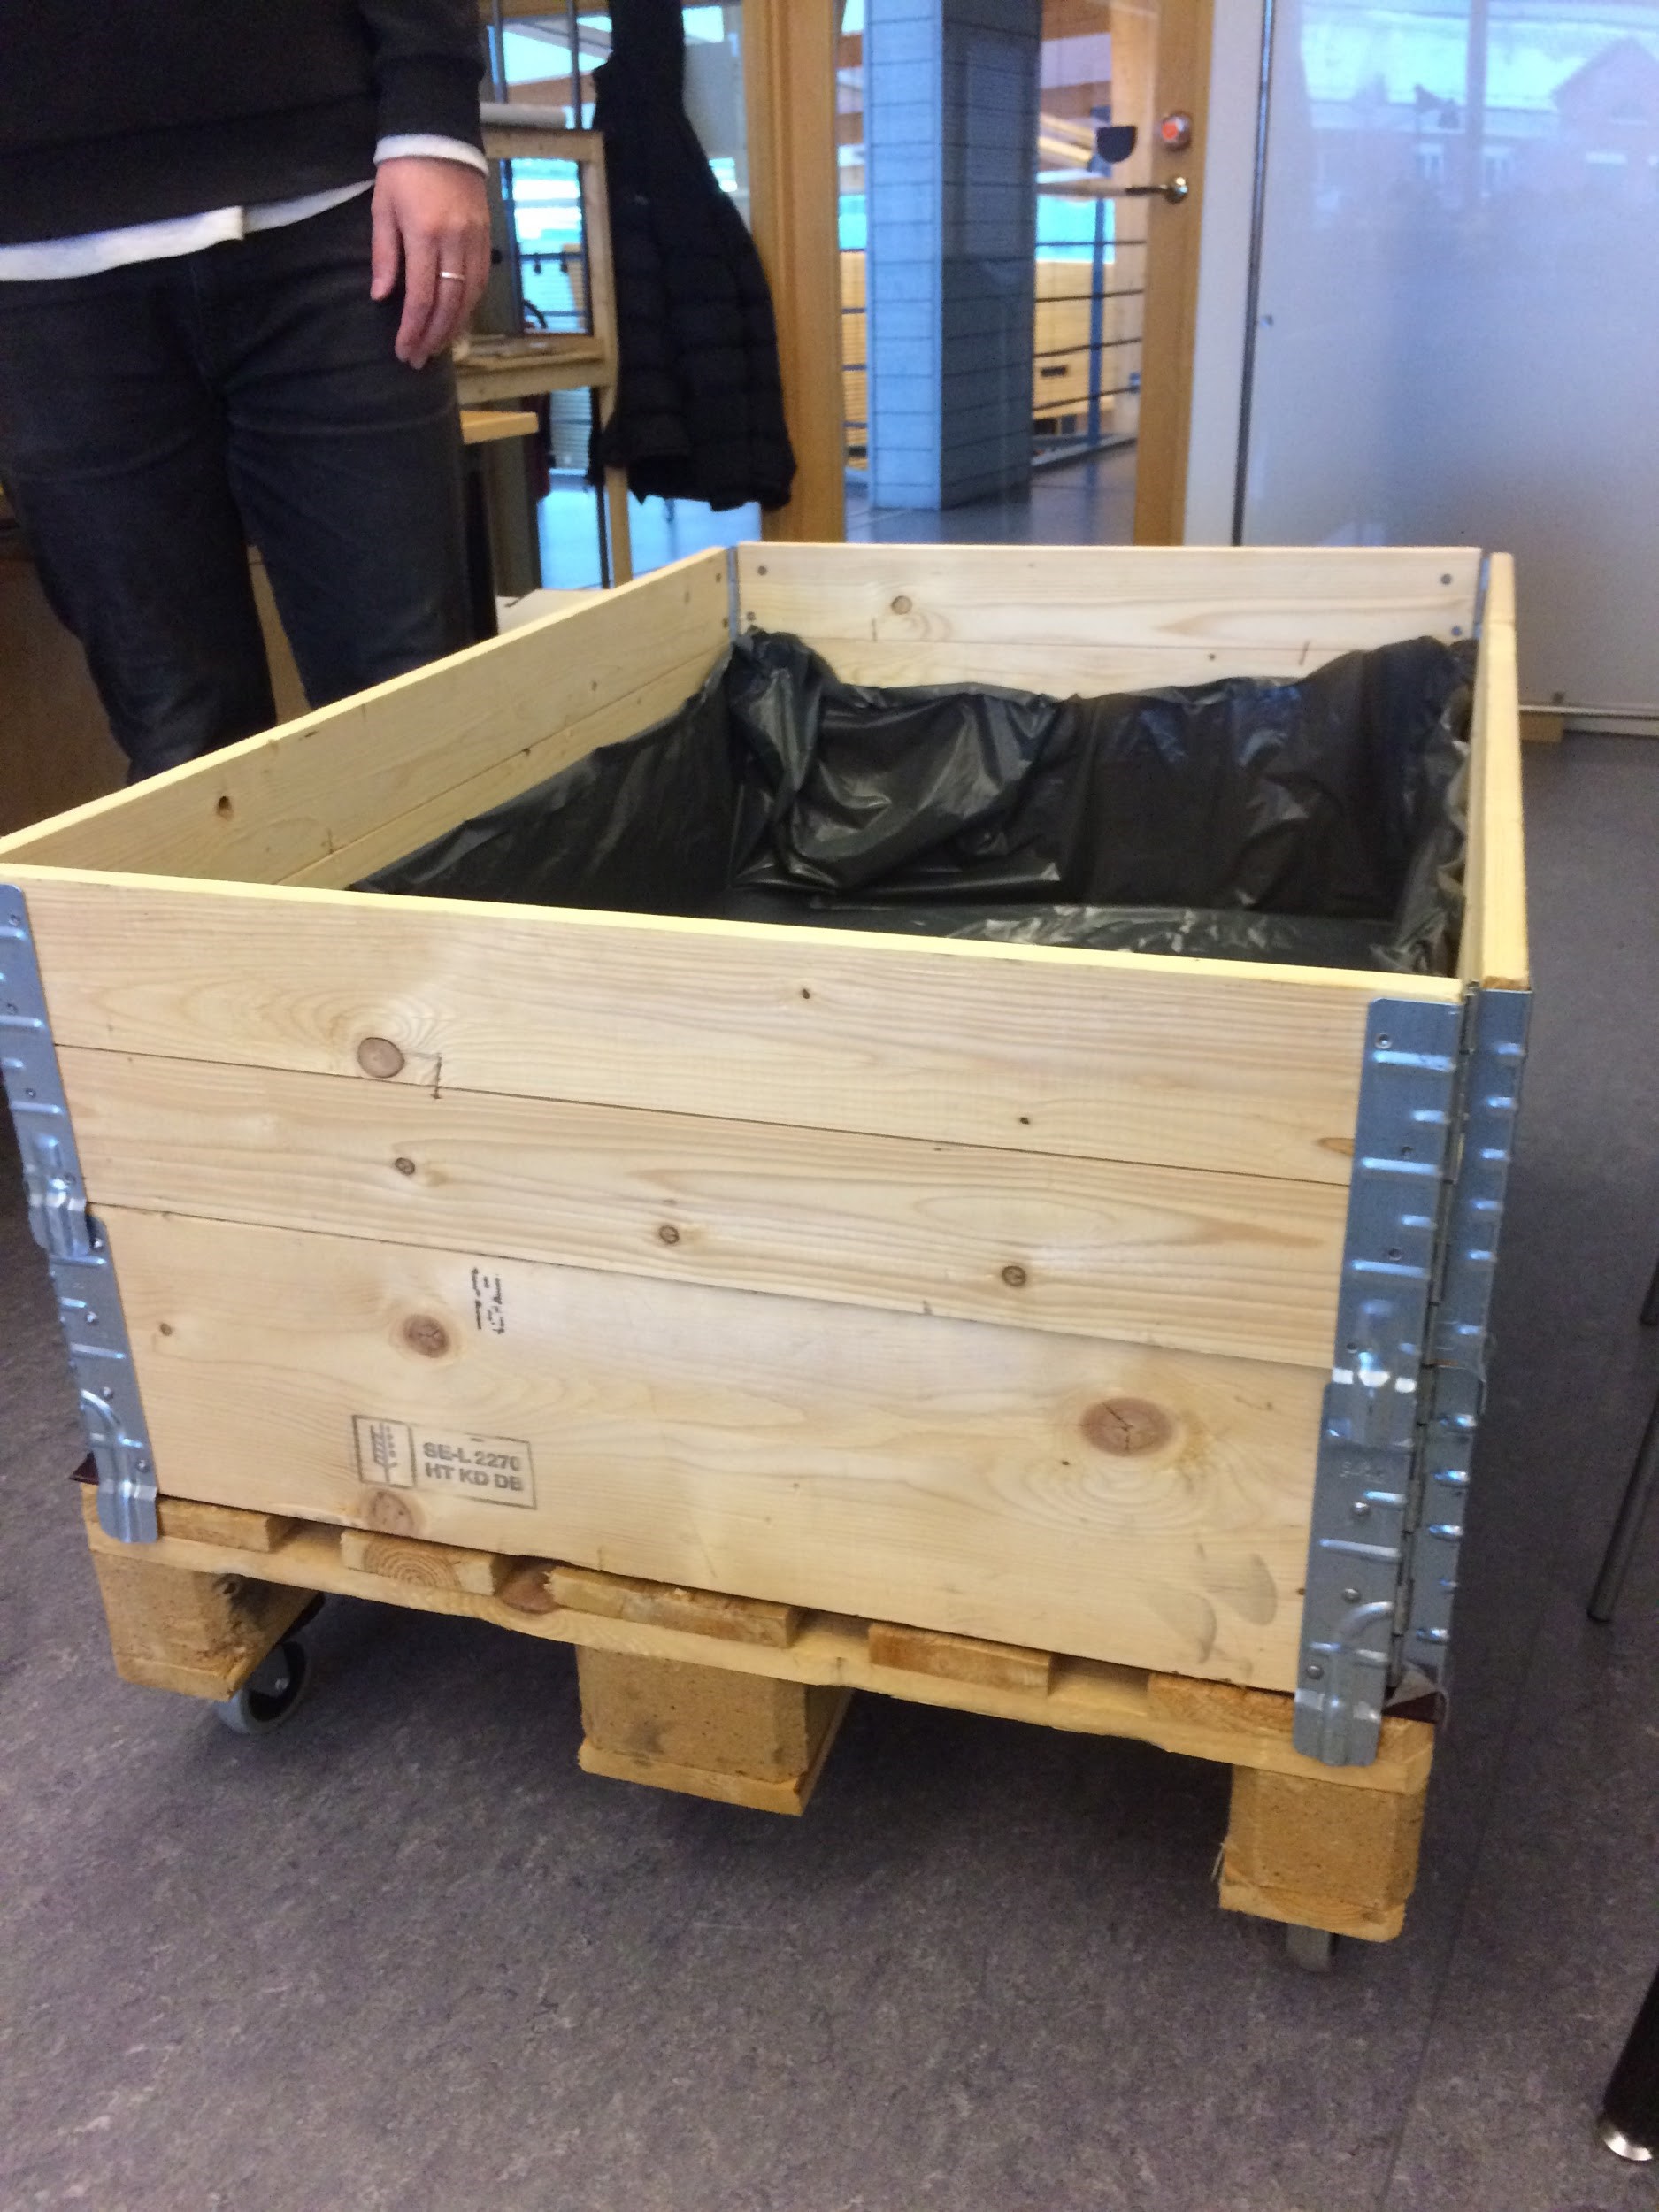
This can be done by getting a wooden pallet and wooden frames for walls, then adding wheels to the base. Feel free to be creative when designing your moving farm. A tip: Keep it light and small enough to move around easily! (Look at the pictures below for more guidance).
1. Add wheels to a pallet base with wooden walls.
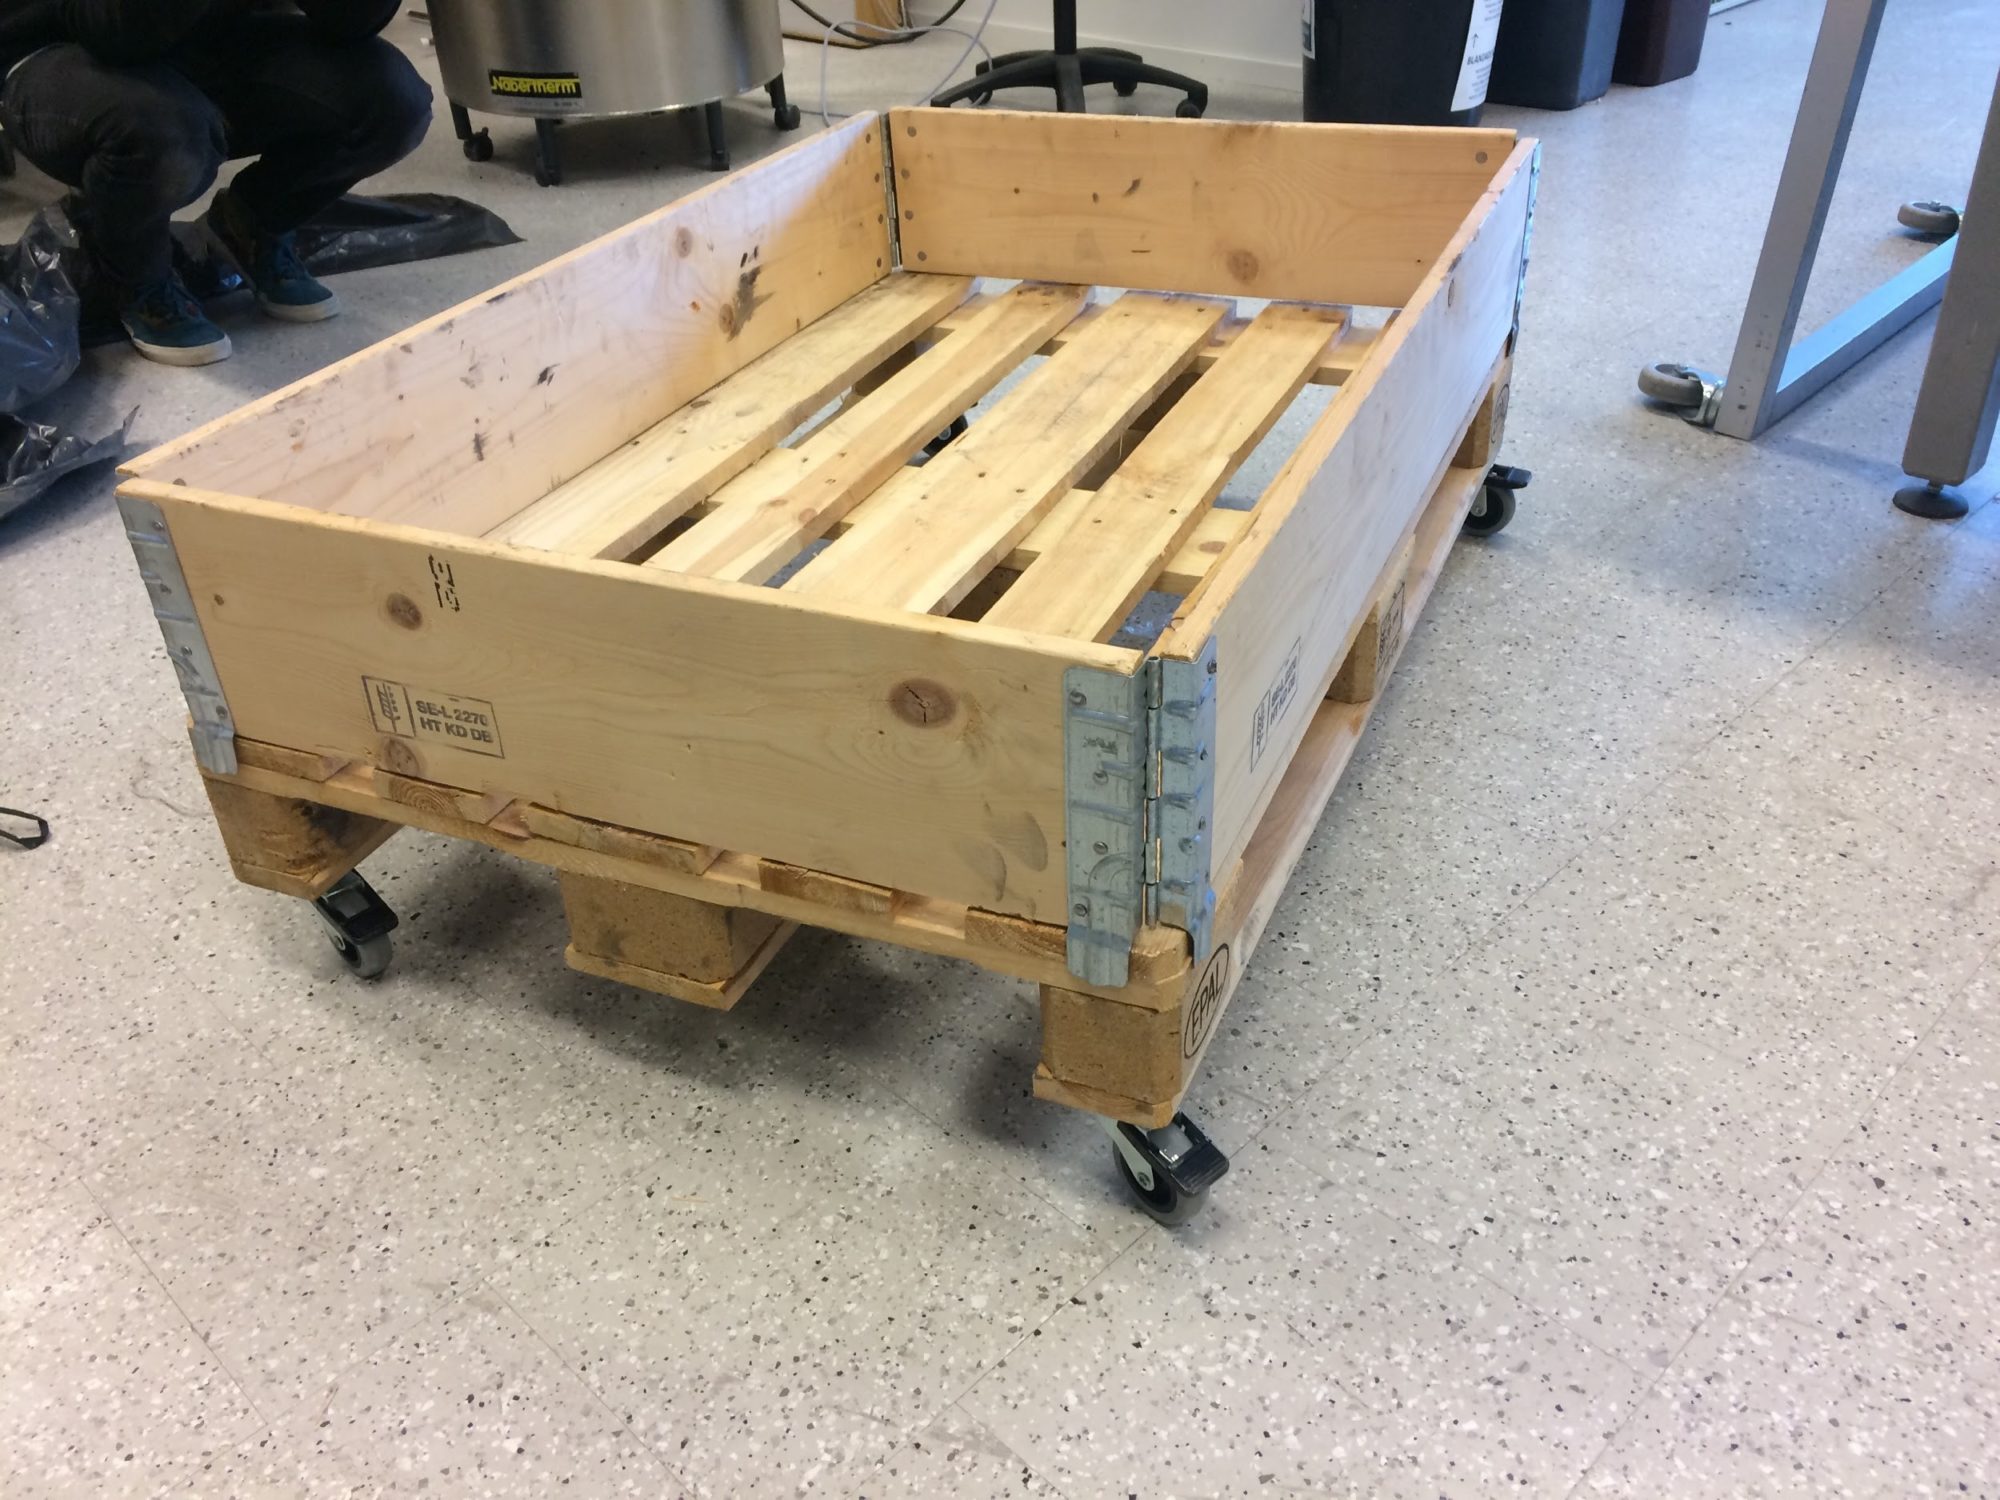
2. You can add an extra base, but remember to add holes for water drainage.

3. Add a plastic covering, this will prevent the soil from spilling.
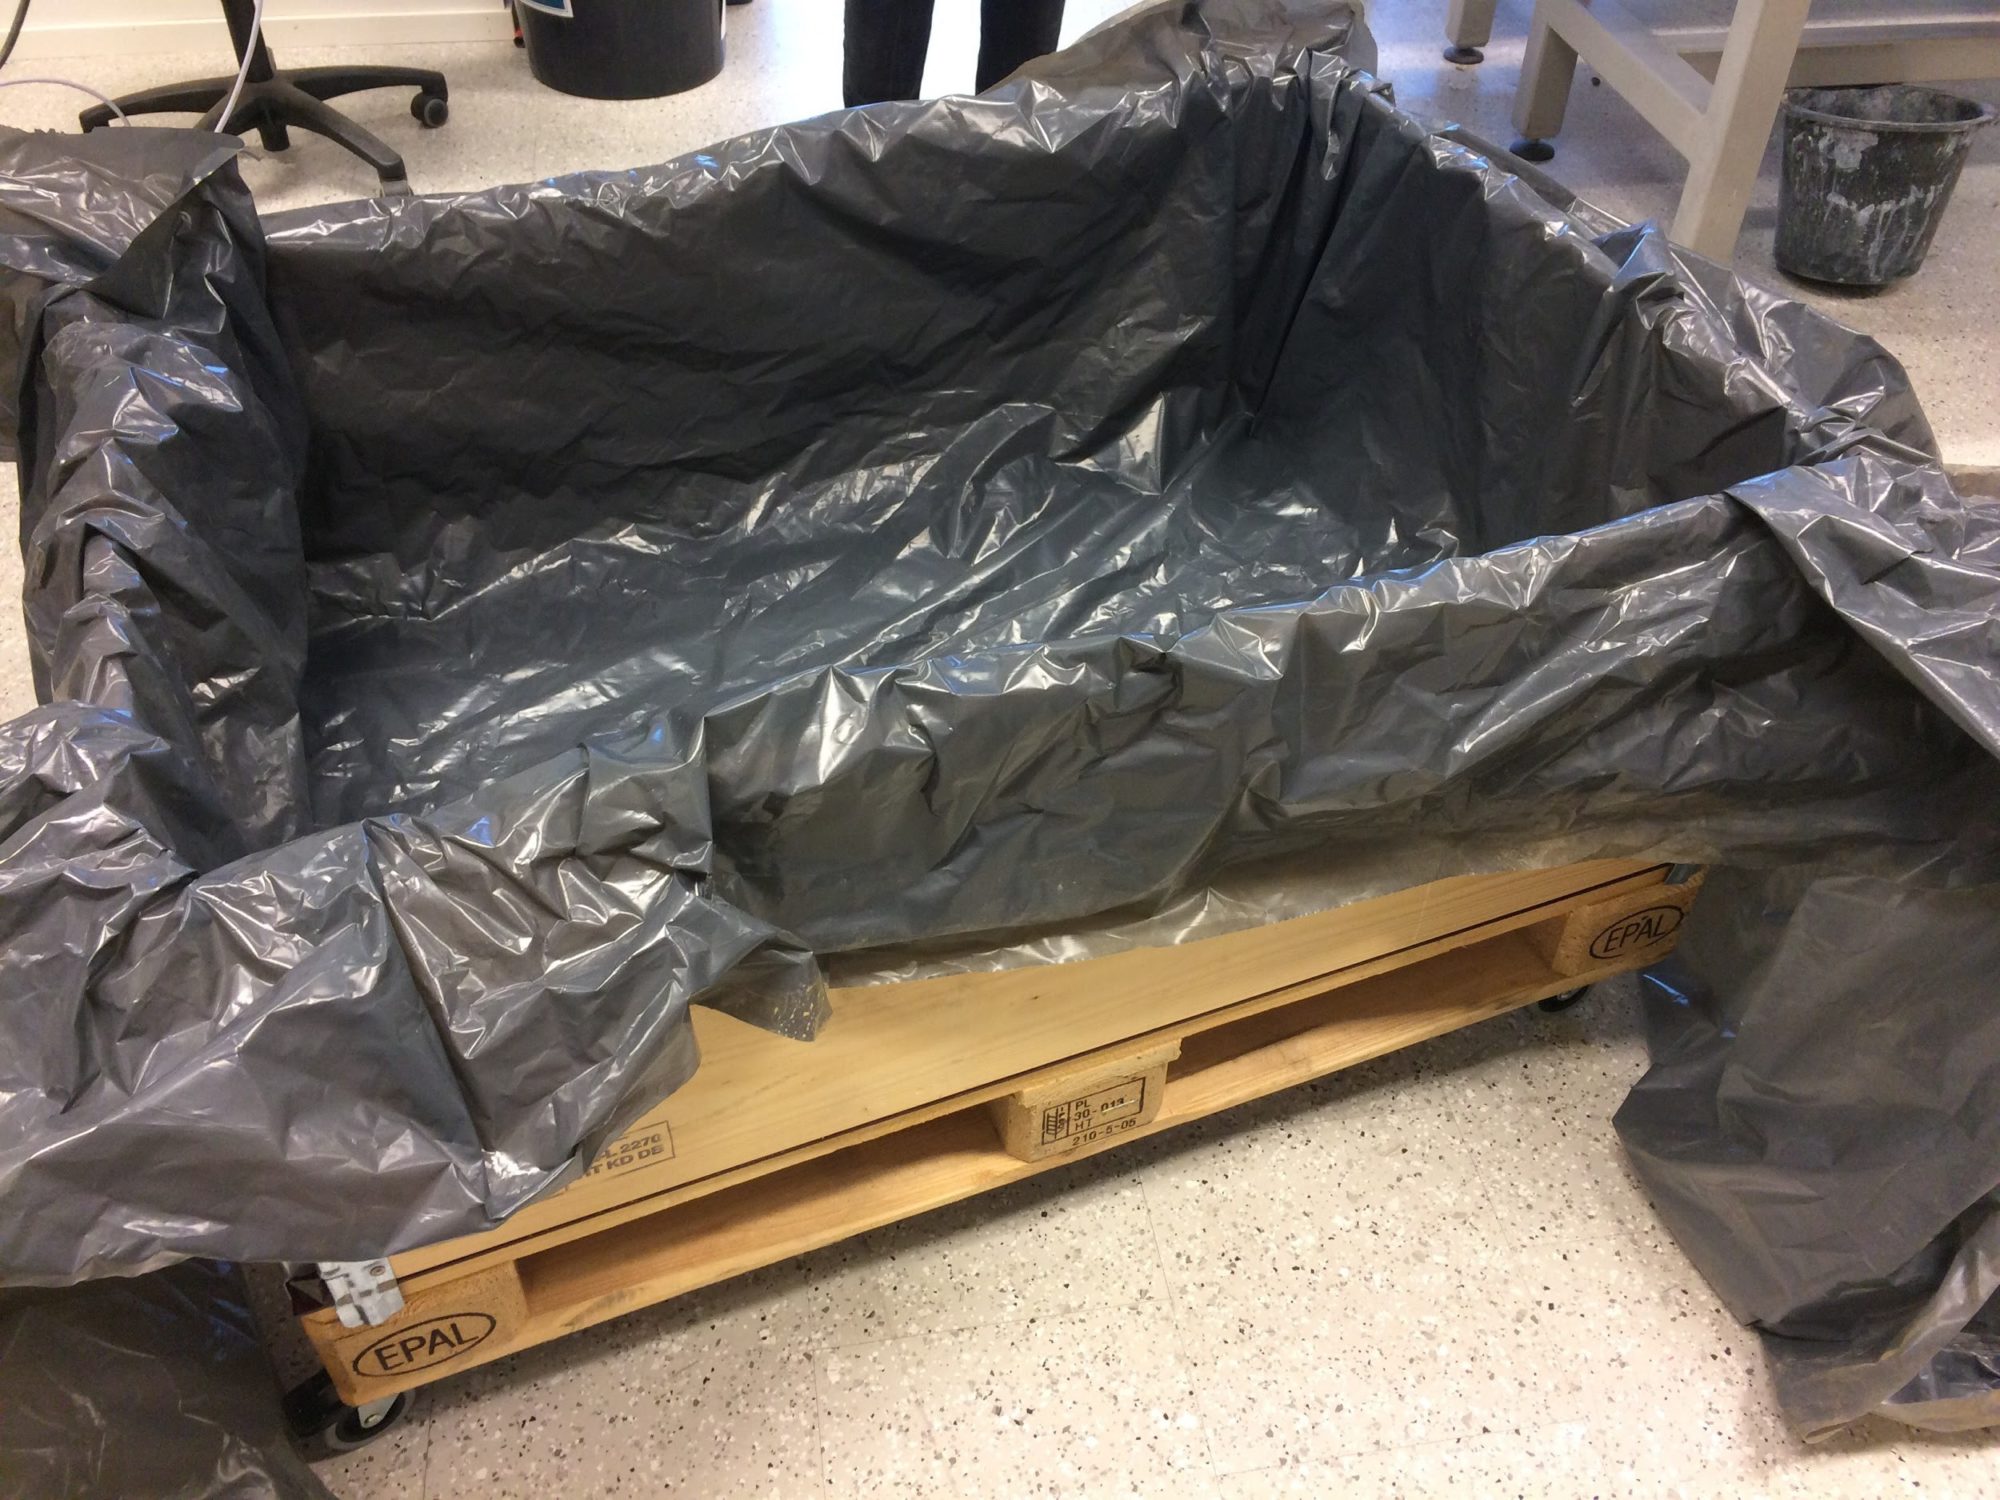
4. Now you’re ready to start growing!
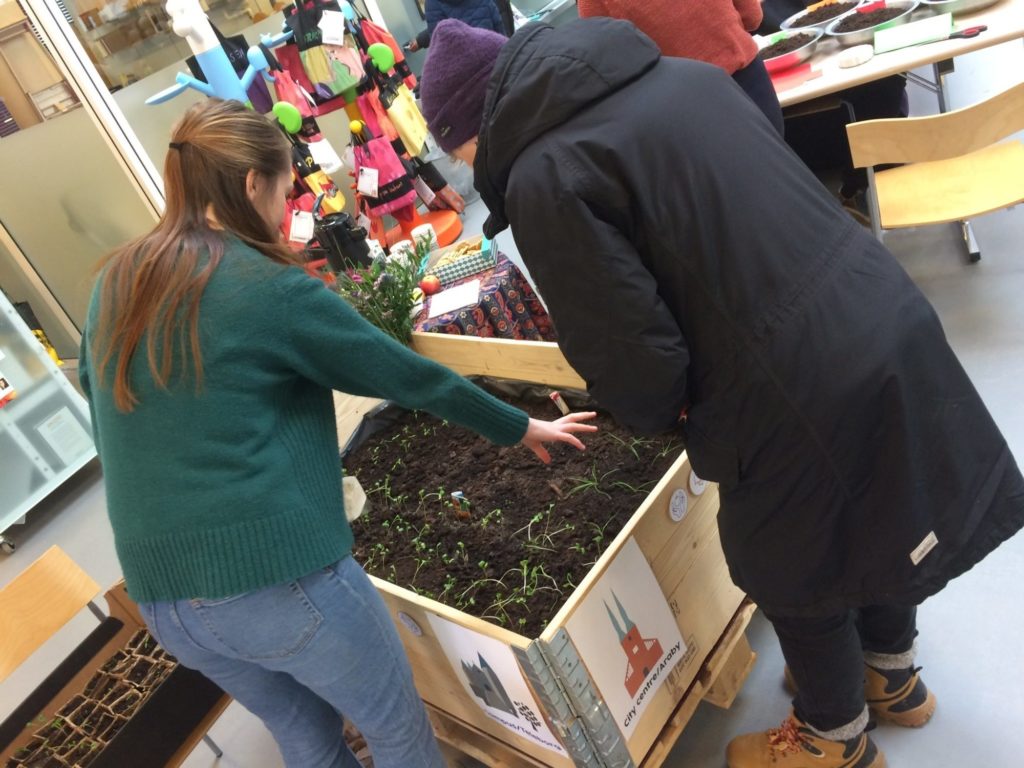
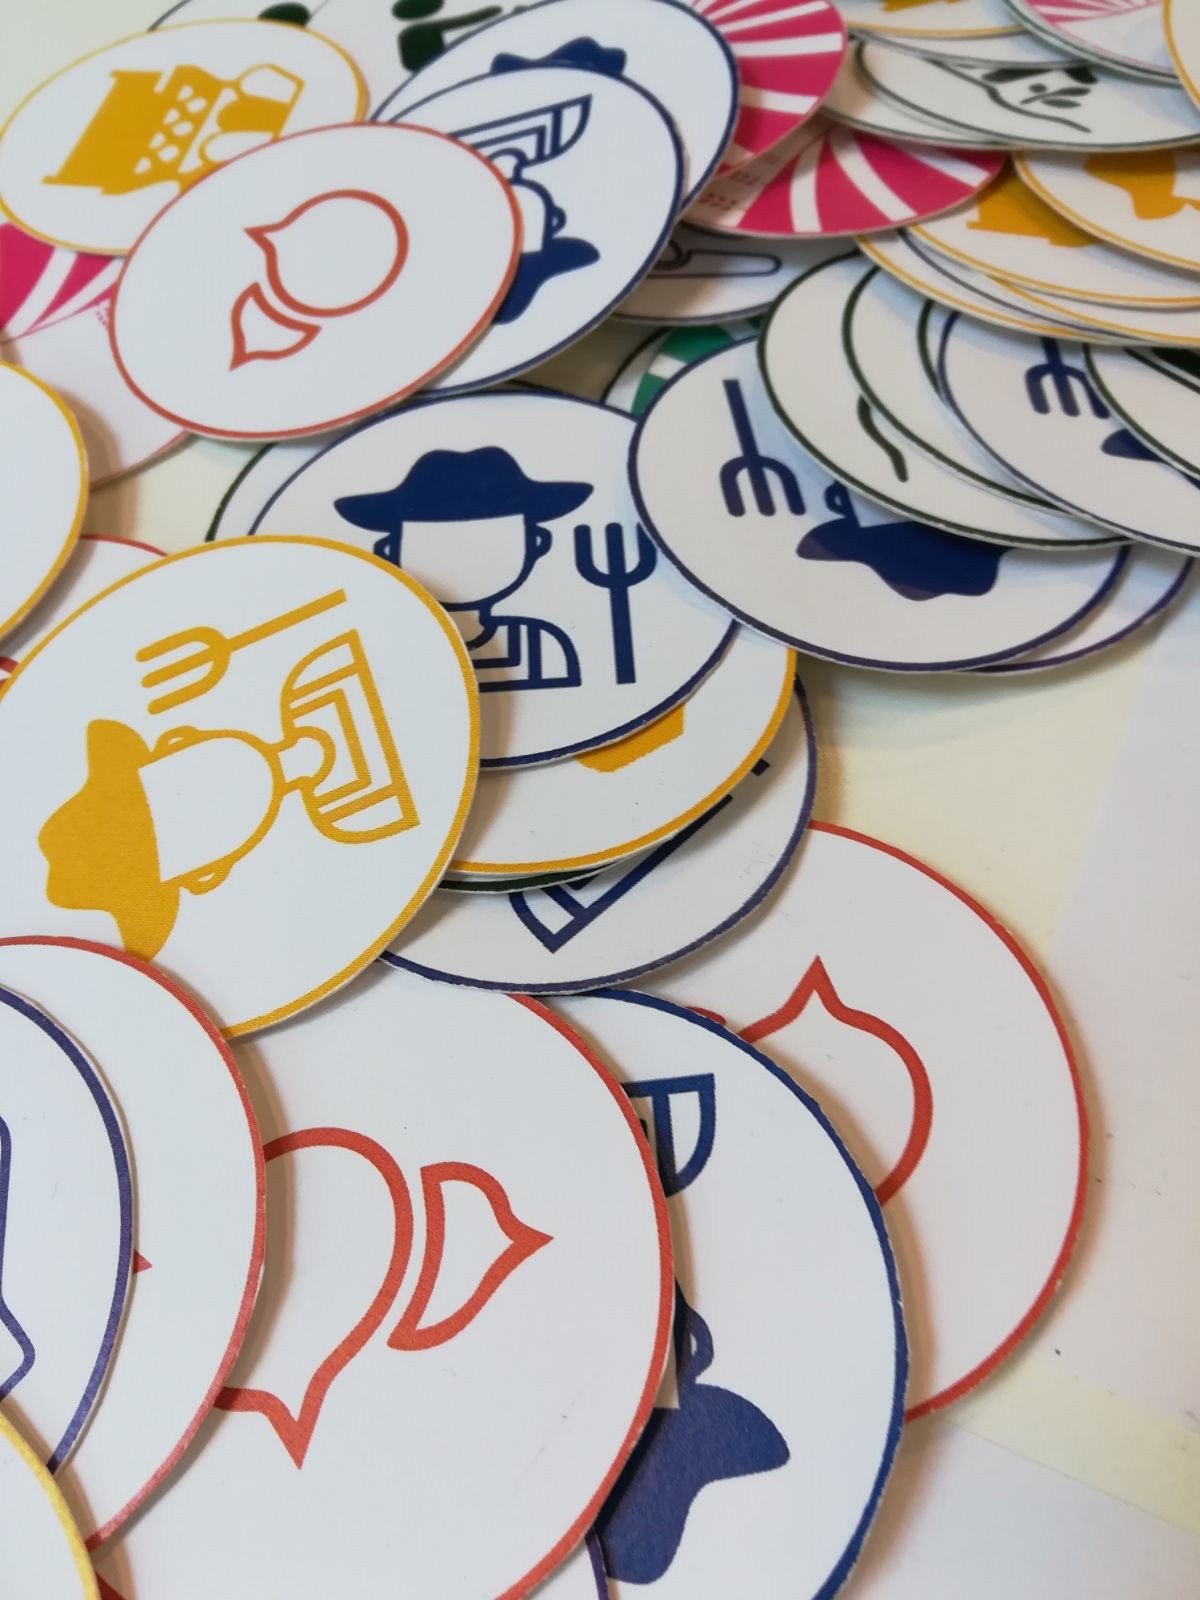
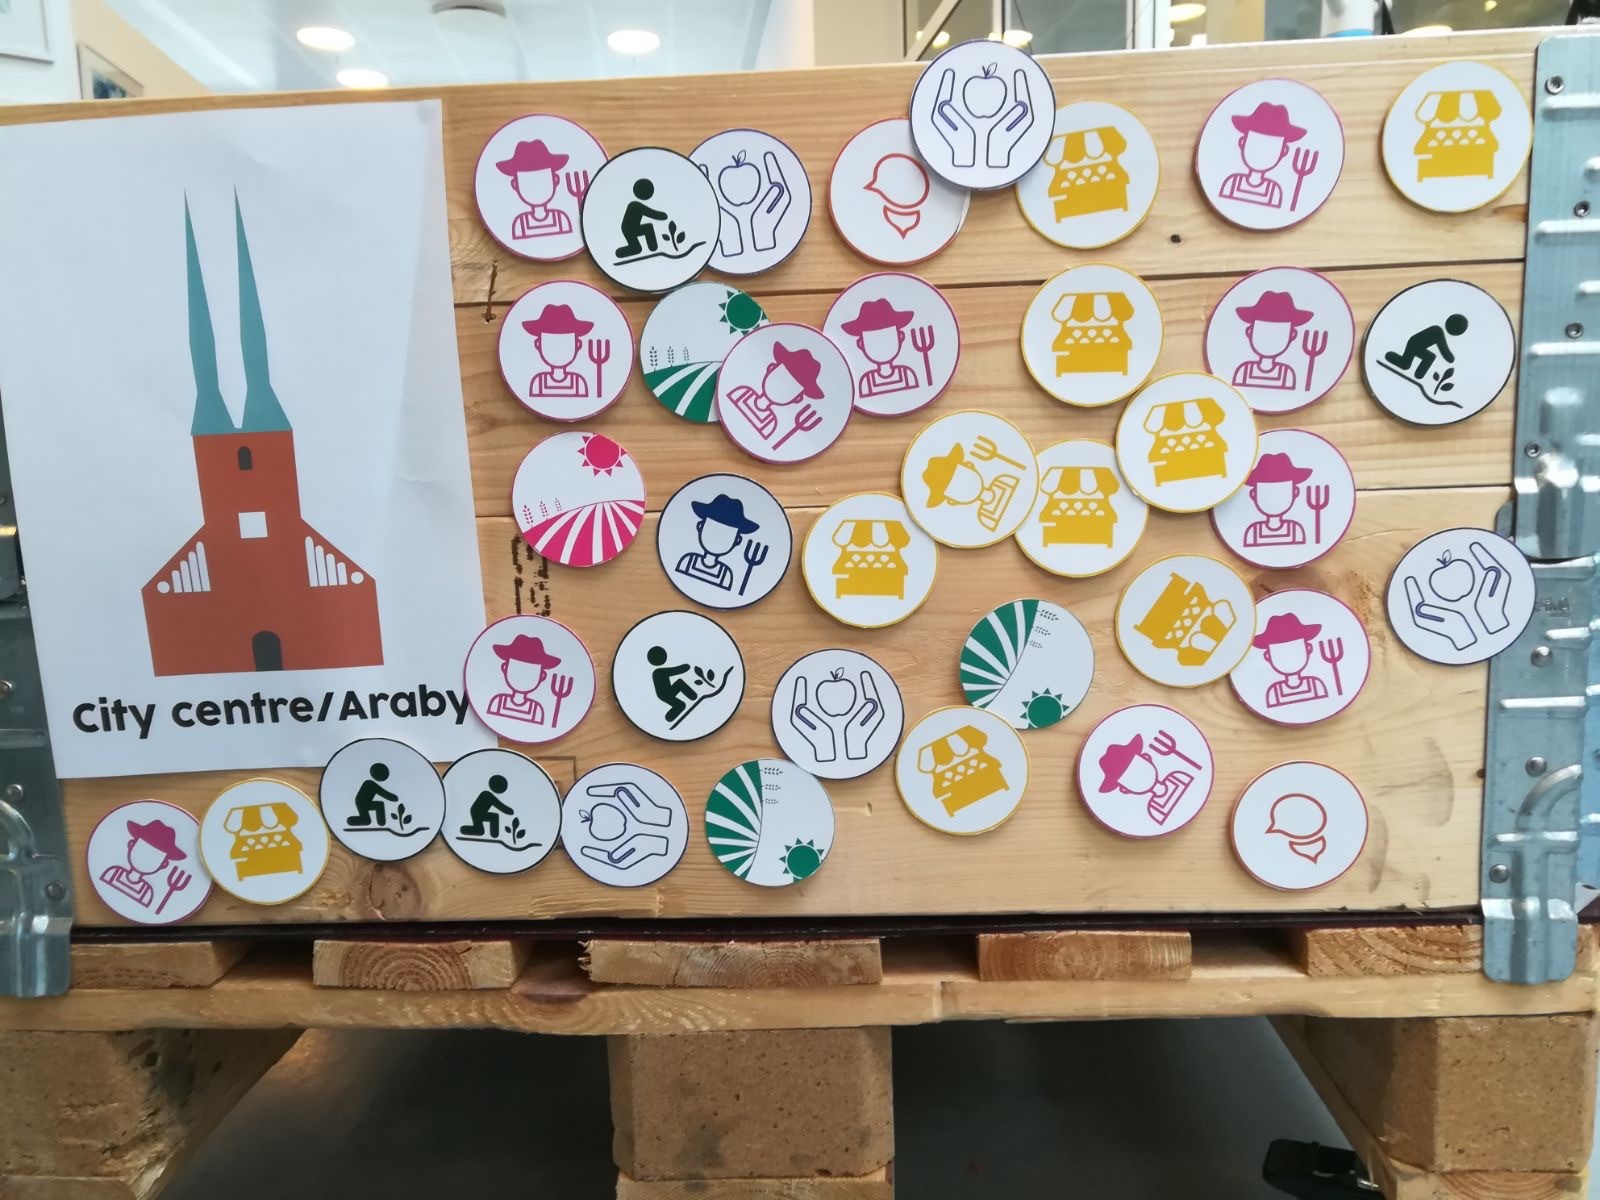
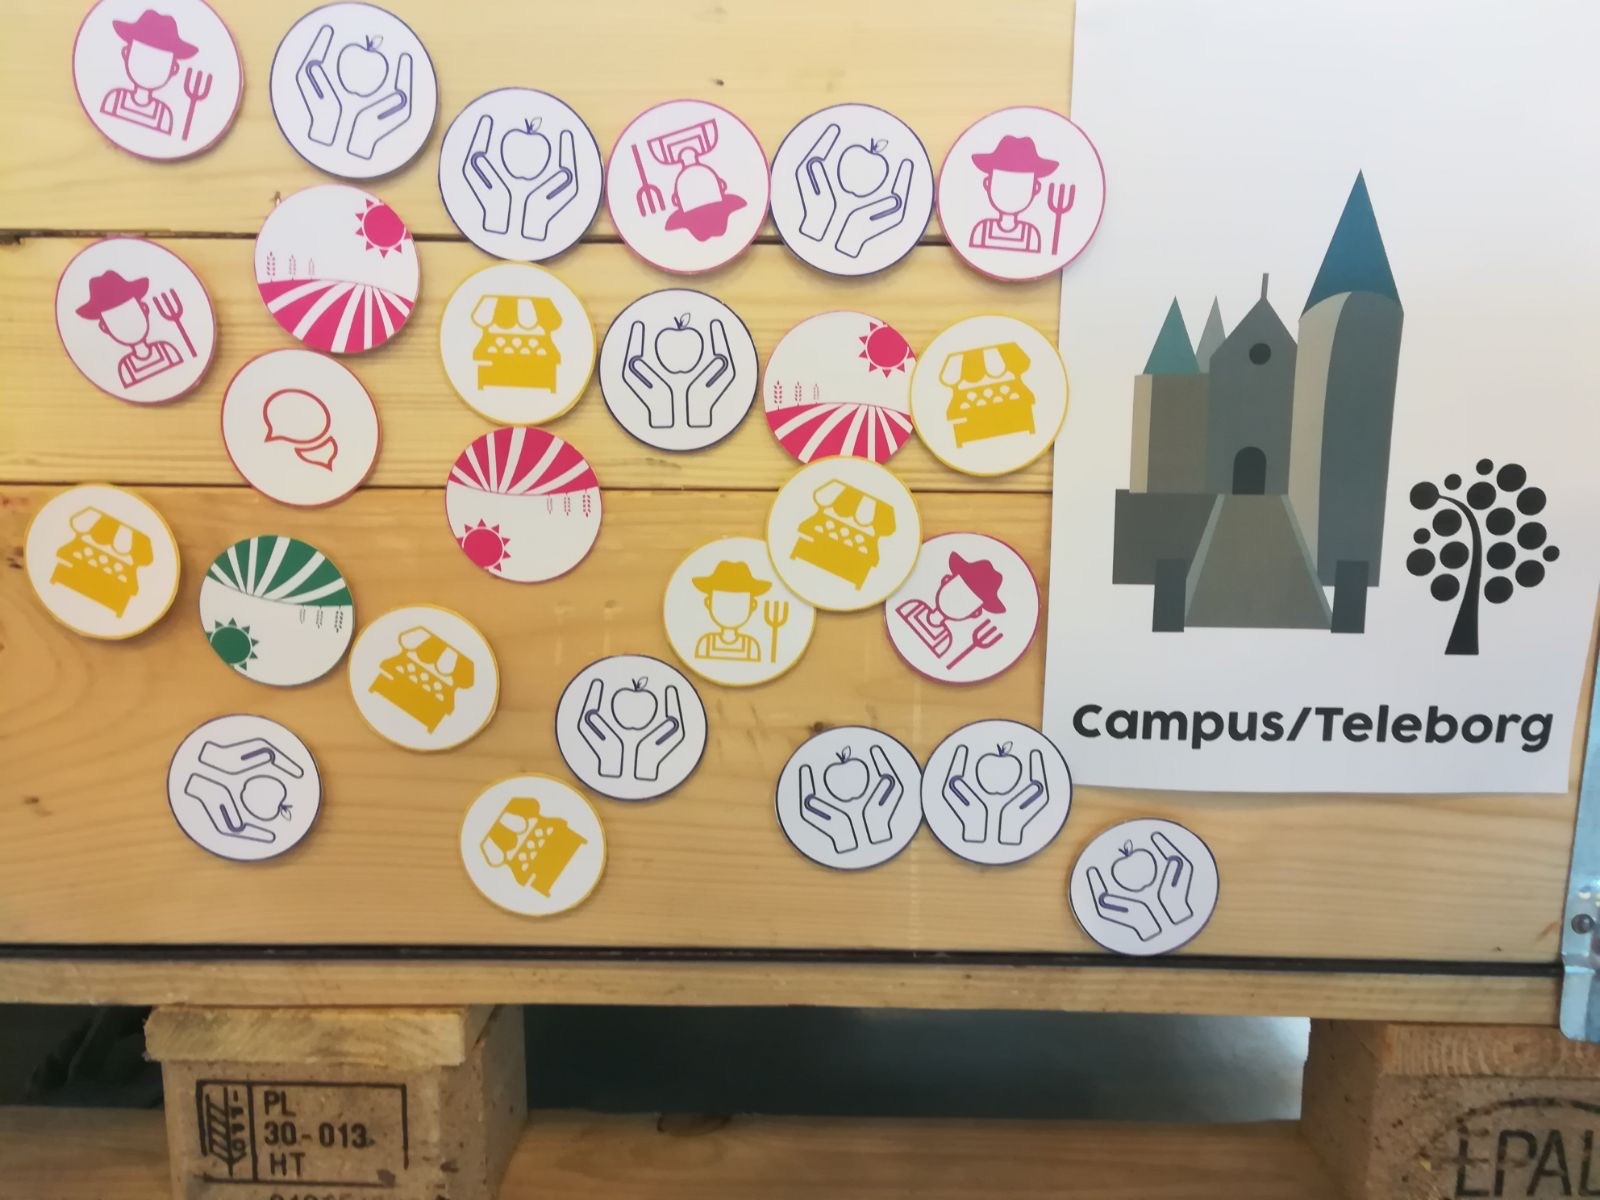
It’s encouraged to walk around with the moving farm and ask people walking by to place icons on the sides of the farm to answer the question of: “who they are in the food community?” or “who they want to be in the food community?”. The icons will be placed on the outside of the moving farm, each side will need to represent a different or a few different areas in your city.
For example, the following icons will be:
![]()
Step-by-step guide for the workshop:
- Label the sides of the moving farm. You can do this by printing out the different names of the areas or you can paint symbols onto the farm that visually represents the areas!
- Once the farm is full of soil and plants, it’s time to walk around your city!
- Talk to people passing and ask them to place icons on the side of the farm that represents the area they live in.
- Don’t forget to invite people to your next workshop!
Here are some photos from the workshop:
Learning outcomes: By doing this workshop I learned that:
- The farm was a bit too heavy to move in some areas, so a tip is to keep it smaller than bigger for it to move more easily!
- The icons needed a ‘key’ and explanation for people to understand, but it’s also a great chance for you to start a conversation with the people who stop.
Hope this workshop proves useful for all you fellow farmers out there!
With Love,
Lisa and the Growgbg team.
Related articles